Shop By Category
Browse our selection of medical equipment and supplies
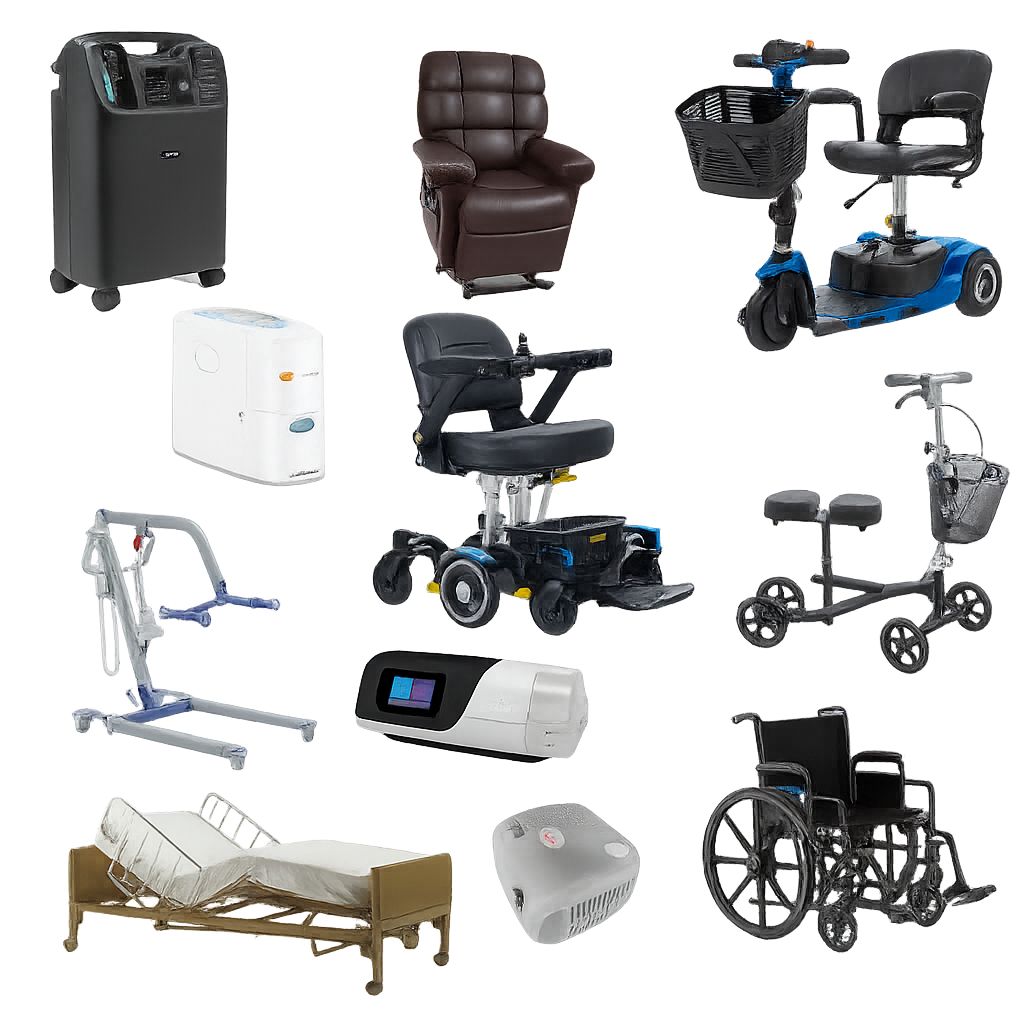
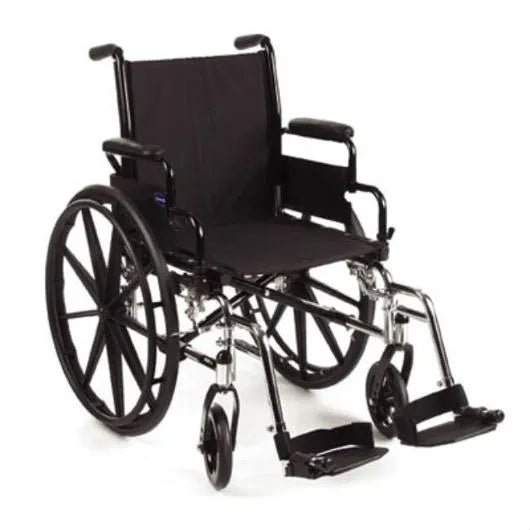
We Offer a Wide Range or Rental Equipment
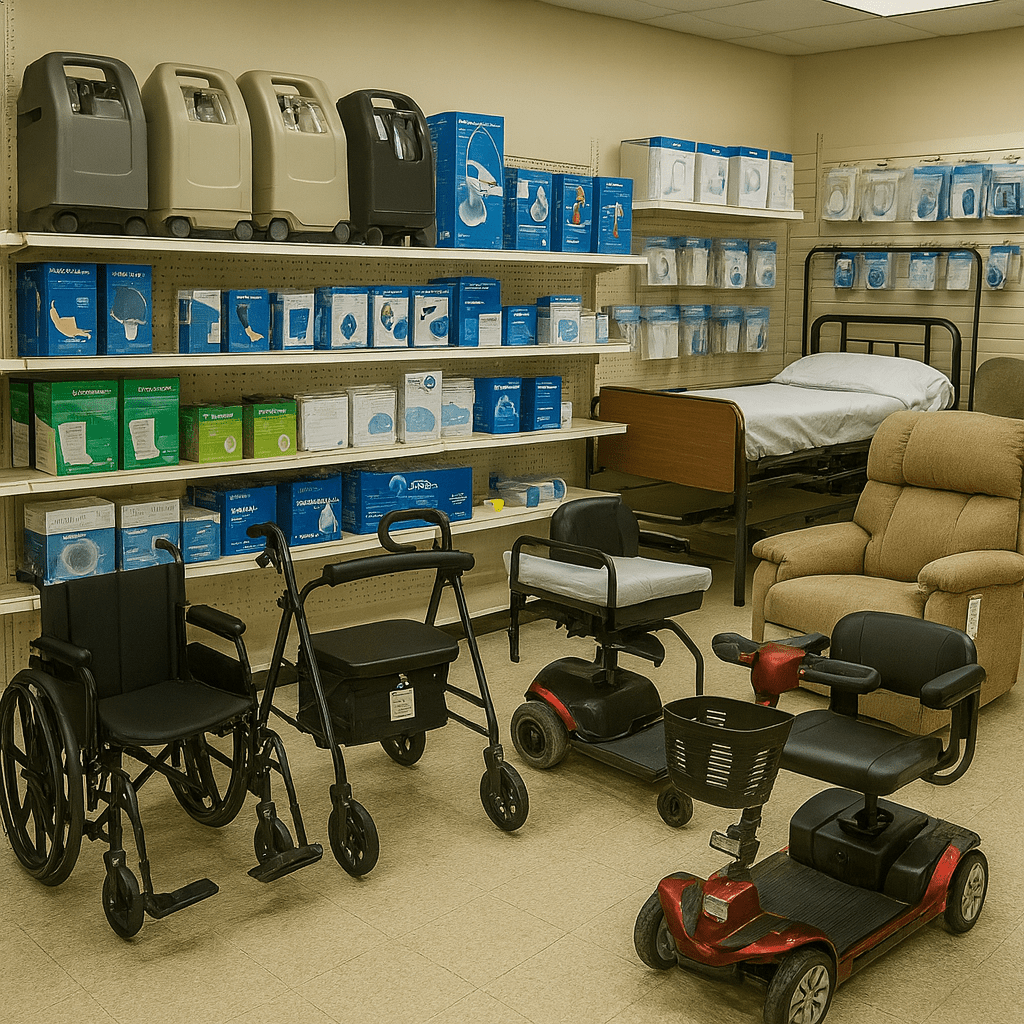
Welcome to MedEquip Shop, your trusted destination for top-quality medical supplies in Houston, Texas. Situated as a leading medical supply store at the core of Houston, we take immense pride in presenting an extensive array of products tailored to meet the varied requirements of our esteemed customers. Whether you are a healthcare professional, caregiver, or an individual seeking medical supplies, we are dedicated to delivering the utmost quality in both products and services.
Tips & Helpful Resources
We are always here to help with maintenance tips and answer any questions. The tips, advice, and information you need to manage your health.
Does Medicare Cover Hospital Beds for Home Use? | MedEquip Shop
Can I Get a Hospital Bed Through Medicare or Insurance? Introduction: Why This Question Matters If you’re caring for a loved one at home, you’ve probably wondered: “Will Medicare or my insurance cover a hospital bed?” It’s a reasonable question. Hospital beds aren’t cheap. A basic model starts around $950, and advanced models—like hi-low hospital beds, bariatric beds, or luxury-style care beds—can cost $1,150–$6,000 or more. The idea of having Medicare or private insurance step in and cover some (or all) of that expense sounds like a relief. But here’s the honest truth: Yes, Medicare and insurance sometimes cover hospital beds, but the process can be slow, and you will need to meet certain conditions to qualify. As a cash-pay medical supply company, we’ve worked with thousands of families navigating this exact question. We’ve seen what insurance covers (and doesn’t), how long approvals take, and why many families end up skipping insurance entirely to buy the right bed upfront. This article is a transparent, step-by-step guide to help you understand: What Medicare and insurance really cover What the process looks like The hidden costs and restrictions you may not know about Why more families are choosing to pay cash instead How to make the right decision for your situation How Medicare Classifies Hospital Beds Under Medicare Part B, a hospital bed is considered “durable medical equipment” (DME)—the same category as walkers, wheelchairs, oxygen concentrators, and CPAP machines. To qualify, three things must happen: A doctor must prescribe it. Your physician has to state in writing that a hospital bed is medically necessary. Common qualifying conditions include: Severe arthritis COPD or cardiac disease (requiring head elevation) Neurological conditions (stroke, paralysis, ALS, MS) High risk of aspiration or respiratory distress Advanced mobility limitations The prescription must specify why a regular bed won’t work.Medicare wants clear justification. For example: “Patient requires 30° head elevation that cannot be achieved with pillows” or “Patient requires frequent repositioning due to risk of pressure ulcers.” You must use a Medicare-approved / private insurance approved supplier.Not every medical supply company participates in Medicare. You may be limited to a handful of providers in your area or by your insurance. What Medicare Covers (and Doesn’t Cover) Here’s where the fine print matters. What’s Typically Covered Manual or semi-electric beds (head/foot adjust electrically, height by hand crank) Basic spring mattress 20% coinsurance after deductible (Medicare pays 80% of approved amount) Rental-to-own contracts (you rent for 13 months, then own the bed) What’s Not Covered Fully electric beds (height adjustment by motor) Hi-low beds (lower to the floor for fall prevention) Bariatric beds (wider, higher weight capacity) Luxury or furniture-style beds (look like regular beds with wood finishes) Specialty mattresses (foam, gel, alternating pressure—unless advanced wound care diagnosis is documented) Accessories like overbed tables, trapeze bars, or patient lifts The Process: Step by Step If you try to get a hospital bed through Medicare or insurance, here’s what it usually looks like: Doctor Appointment – Discuss condition and request a bed. Prescription Submitted – Doctor sends paperwork to a Medicare-approved supplier. Supplier Verification – Supplier checks eligibility and contacts insurance. Insurance Review – Medicare or private insurance reviews request. Approval or Denial – This can take days or weeks. Delivery – Supplier delivers the bed (usually a basic semi-electric model). The Downsides Families Don’t Expect Now let’s be honest. Here are the challenges families tell us they face: 1. Long Wait Times Even if your doctor prescribes it, approvals often take 1–3 weeks. That’s a long time if your loved one is being discharged tomorrow. 2. Limited Choice Insurance will only approve a basic bed. Families hoping for fully electric controls or a nicer design are disappointed. 3. Rental Contracts With Medicare, the bed is “rented” for 13 months before ownership transfers. That means you don’t control the equipment—you’re locked into their supplier. 4. Surprise Costs Even with coverage, families pay: 20% coinsurance Deductible balance Delivery/setup fees (sometimes not included) Upgraded mattresses, rails, or accessories (not covered) 5. Poor Service Experiences Because you’re limited to “in-network” suppliers, service quality varies. Many families feel rushed, ignored, or frustrated with support. Private Insurance: Private insurance companies usually mirror Medicare rules. Some require prior authorization (delaying things further). Most only cover manual or semi-electric beds. Very few cover upgraded or specialty models. Why Families May Choose Cash Pay Here’s where things change. When families realize the restrictions, many choose to pay cash for their bed instead. At MedEquip Shop, we see this daily. Benefits of Paying Cash Immediate delivery – Often same-day or next-day setup. Full control – Choose the exact bed you want: fully electric, bariatric, or hi-low. Ownership from day one – No rental contracts. Transparent pricing – No surprise bills or deductibles. Comfort & dignity – Families can choose beds that blend with home décor. Who Should Use Medicare/Insurance vs. Cash Pay? Choose Medicare/Insurance if: Time isn’t urgent Budget is the #1 priority You’re satisfied with a very basic bed Choose Cash Pay if: You need the bed immediately You want a fully electric, hi-low, bariatric, or luxury model You want ownership and control from day one Conclusion: The Honest Answer So, can you get a hospital bed through Medicare or insurance? Yes—but only if you qualify, wait for approval, and accept a basic model with limitations. Should you? That depends. If cost is the biggest concern and you can wait, Medicare or insurance may work. But if you value speed, comfort, choice, and ownership, then paying cash through a company like MedEquip Shop is often the better path. Explore our hospital bed collection today to see models available for immediate delivery. Related Questions Answered Does Medicare cover electric hospital beds? How long does it take to get a hospital bed through insurance? Can I rent a hospital bed without insurance? What’s the cost difference between Medicare and cash pay hospital beds? Why do families buy hospital beds out of pocket?
Read moreLift Chairs vs. Recliners: What’s the Real Difference?
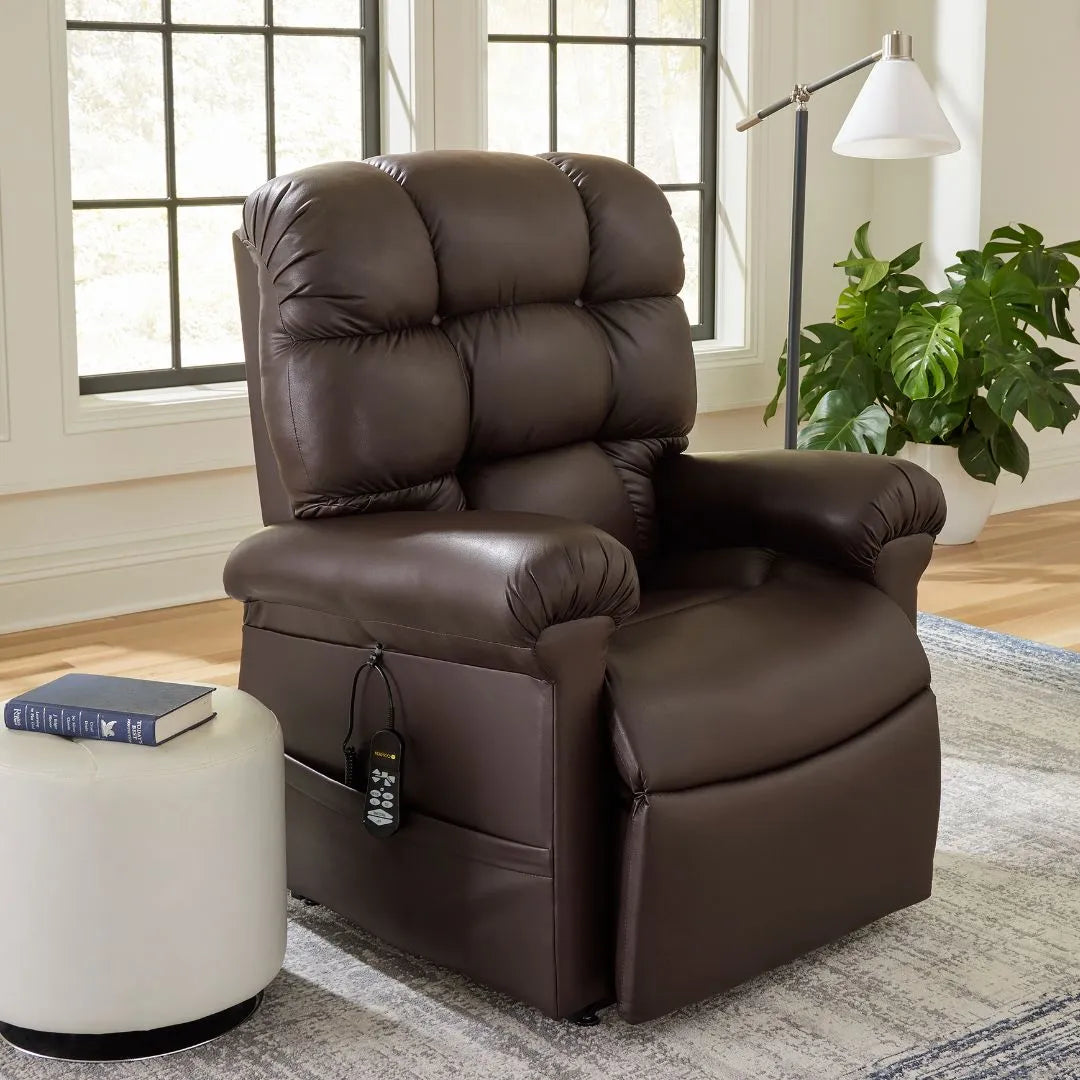
Lift Chairs vs. Recliners: What’s the Real Difference? When most people first hear about a “lift chair recliner,” their first thought is often, “Isn’t that just a fancy recliner with a motor?” It’s an honest question—and if you’ve walked through a furniture store, it’s easy to think the two products are the same thing. At MedEquip Shop, where we specialize in cash-pay medical equipment and supplies for families caring for loved ones at home, this is one of the first questions we hear from customers. People want to know if a lift chair is truly worth the investment, or if they should just buy a standard recliner at the local furniture store. The short answer is this: lift chairs and regular recliners may look alike, but they serve two very different purposes. A recliner is about comfort and relaxation. A lift chair is about mobility, safety, and independence—especially for seniors or anyone struggling to get in and out of a seated position. Let’s break it down in detail. What Exactly Is a Lift Chair Recliner? A lift chair recliner looks much like any living room recliner—it has armrests, a padded back, and a footrest. But inside, the difference is huge. Motorized Power Mechanism: Lift chairs use an electric motor to slowly tilt and lift the entire chair forward and upward, bringing the user from a seated to a standing position safely. Medical Classification: In most cases, lift chairs are considered durable medical equipment (DME) because their primary function is medical in nature—they help people who have mobility challenges. Position Options: Depending on the model, lift chairs may offer two-position, three-position, or “infinite position” recline options, allowing for sitting, TV watching, napping, sleeping, or even zero-gravity positioning. A standard recliner, on the other hand, is usually operated manually by a lever or handle. It does not lift the user up. Its main job is to give you a comfortable spot to sit back and put your feet up. Who Needs a Lift Chair vs. a Recliner? Here’s where the biggest difference comes in: who benefits from each product. Standard Recliner: Anyone who wants a cozy chair for reading, watching TV, or napping. A recliner is designed for comfort and convenience, not mobility support. Lift Chair Recliner: Seniors with weak legs, arthritis, balance issues, or post-surgery recovery. Also valuable for people with conditions like Parkinson’s, COPD, congestive heart failure, or chronic pain, where standing up from a seated position can be dangerous or exhausting. In short: a recliner is for comfort, a lift chair is for independence. The Safety Factor One of the most important differences is safety. Imagine trying to help your parent or spouse out of a recliner. You might lean down, grab their arms, and try to pull them forward. Not only is that unsafe for the person in the chair, but it’s also a fall risk for you as the caregiver. A lift chair takes the strain off both parties. With the push of a button, the chair gradually raises the person into a standing position. No pulling, no straining, no risk of falling backward. This is why lift chairs are a medical product, not just a piece of living room furniture. Features That Set Lift Chairs Apart Here are the most common features you’ll find in lift chairs that you won’t get in a standard recliner: Powered Lift Mechanism – Helps users stand without assistance. Multiple Recline Positions – Some models recline fully flat, allowing the chair to double as a sleeper. Heat and Massage Options – Many medical-grade chairs include therapeutic heat and massage settings for arthritis, circulation issues, or muscle relaxation. Battery Backup – In case of a power outage, the chair can still return to an upright position. Custom Fit Sizing – Available in petite, medium, large, and bariatric sizes (supporting up to 600+ lbs). By contrast, a standard recliner offers manual reclining, padded cushions, and maybe a cupholder—but that’s about it. Cost Differences: Why Lift Chairs Cost More Let’s be honest: lift chairs are more expensive than standard recliners. Standard Recliner: $300–$900 at a furniture store. Lift Chair Recliner: $899–$2,500+, depending on features, fabric, and weight capacity. That difference is because lift chairs use durable steel frames, heavy-duty motors, and specialized mechanisms designed for medical use. As a cash-pay medical supply company, we tell customers upfront: this isn’t just furniture—it’s an investment in mobility and safety. Insurance vs. Cash Pay: Why It Matters A common misconception is that Medicare or insurance will cover the full cost of a lift chair. The truth is less exciting: Medicare will only cover the lift mechanism itself (not the chair, fabric, or extras). That reimbursement often works out to about $250–$300. The patient is still responsible for the rest of the cost—typically $700–$1,500 or more. Many insurance-based DME providers don’t even stock lift chairs anymore because the reimbursement is too low. This is why companies like ours operate on a cash-pay basis. It allows us to offer a wider variety of models, fabrics, and features without being tied down by restrictive insurance rules. Families often find that paying directly saves them the headache of paperwork while still ensuring they get the exact chair they want. Everyday Life: Real-World Scenarios Let’s compare how each chair performs in everyday life: Scenario 1: Watching TV Recliner: Comfortable, but if you fall asleep and need to get up, you’ll have to push yourself out. Lift Chair: Equally comfortable, with the added benefit that when you’re ready to get up, a button helps you to your feet. Scenario 2: Post-Surgery Recovery Recliner: Difficult, especially if you’ve had knee or hip surgery—you’ll need help standing. Lift Chair: A lifesaver. The powered lift reduces strain on your joints and makes getting up much safer. Scenario 3: Caregiving for a Parent Recliner: You’ll need to physically assist them. Risk of falls. Lift Chair: You can supervise without straining yourself. The chair does the heavy lifting. Longevity and Durability Another key difference: lift chairs are built to last. Because they’re considered medical equipment, manufacturers design them to withstand daily use for years. Frames are reinforced, motors are tested for thousands of cycles, and fabrics are often stain-resistant and easy to clean. Standard recliners? They’re built for comfort, not durability. After a few years, many start to sag or squeak. The Emotional Side: Independence and Dignity One of the biggest differences that doesn’t show up in the specs is how a lift chair makes people feel. For someone who has always been independent, having to ask for help just to stand up can feel humiliating. A lift chair restores some of that dignity. With the push of a button, they can get up on their own terms. We’ve seen countless families in our showroom where the adult child tears up after watching their parent stand from the lift chair without help for the first time in years. That moment is priceless. How to Decide: Do You Need a Lift Chair or a Recliner? Ask yourself these questions: Do you (or your loved one) struggle to stand up from a seated position? Is there a risk of falling when trying to get out of a chair? Are you recovering from surgery, or managing a chronic condition like arthritis? Do you want a chair that can double as a napper or sleeper? If you answered “yes” to any of those, a lift chair is the right choice. If you simply want a cozy chair for watching TV, a standard recliner will do the job. Lift chair recliner vs recliner Best lift chairs for seniors Power lift recliner for home use Benefits of lift chair recliners Cash pay lift chairs near me Lift chair medical supply store
Read moreMaintaining Your CPAP Equipment: Cleaning and Replacement Guidelines
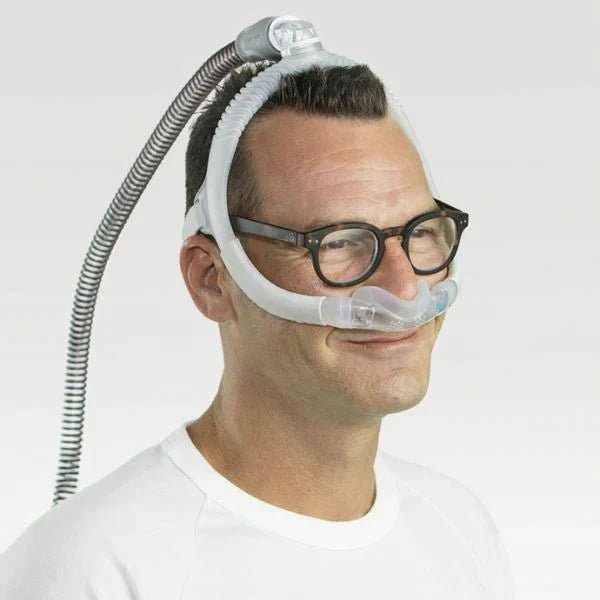
Keeping your CPAP equipment clean isn’t just a luxury—it’s essential for your health, the effectiveness of sleep therapy, and the longevity of your device. Below are detailed guidelines to help you care for your equipment properly. Why CPAP Maintenance Matters Health Risks from Contaminated Equipment If your mask, tubing, or humidifier chamber isn’t cleaned often, mold, bacteria, and allergens can thrive. When you breathe this in each night, you risk respiratory infections, allergies, or other complications. Impact on Machine Performance Dirt, residue, or clogged filters can interfere with the pressure delivery of your CPAP device. This may lead to pressure drops, uncomfortable airflow, and decreased therapy effectiveness. Unpleasant User Experience A neglected CPAP system can develop foul odors, irritate your skin, or cause mask leaks—making therapy less comfortable and reliable. CPAP Cleaning Schedule: What to Clean, and When Daily Cleaning (Mask, Cushion, Humidifier Chamber) Rinse mask and cushion in warm, mild soapy water. Thoroughly rinse to avoid soap residue. Air-dry on a clean towel before next use. Weekly Cleaning (Tubing, Headgear) Soak tubing and headgear in warm, soapy water for 10–15 minutes. Rinse thoroughly and hang to dry. Ensure there's no trapped moisture that could harbor mold. Monthly Checks (Filters, Humidifier Tray) Inspect disposable filters; replace if discoloured. Wash reusable filters; let them dry completely. Clean the humidifier tray thoroughly to prevent residue buildup. Supplies You Need Use non-scented, mild soap or specialized CPAP cleaners Have lint-free towels or drying racks on hand Travel tip: For trips, consider a compact travel CPAP machine—many come with portable cleaning kits for convenience. How to Properly Clean Each Component Mask & Headgear Disassemble components daily. Soak in warm, soapy water for a few minutes. Rinse completely, avoiding harsh detergents. Allow to air dry completely before reassembling to prevent skin irritation. Tubing & Hose Weekly soak in soapy water, rinse thoroughly. Hang in a clean area to dry—ensure it's fully moisture-free to prevent bacterial growth. Humidifier Chamber Rinse daily with water. Once a week, soak in a 1 part vinegar to 4 parts water solution for 20 minutes. Rinse well to clear any vinegar taste and let dry completely before next use. Filters Disposable: Replace monthly or when visibly discolored. Reusable: Rinse weekly, air-dry fully, and replace every 1–3 months depending on condition. CPAP Replacement Guidelines by Component Knowing when to replace parts is vital to maintaining hygiene and effectiveness: Mask Cushions or Pillows: Replace every 1 to 3 months—or sooner if they lose seal or appear worn. Tubing/Hoses: Replace every 3 to 6 months, or immediately if cracked, discolored, or damaged. Filters: Dispose of disposable filters monthly; reusable ones should be replaced every 1–3 months. Humidifier Chambers: Replace every 6–12 months, or earlier if you notice cracking, cloudiness, or odor. Signs it’s time to replace a part include: Mask seal failure (air leaks) Cracked or yellowed tubing Persistent water residue buildup CPAP Cleaning Do’s and Don’ts Do: Opt for mild, unscented soap to avoid residue or irritants Rinse every item thoroughly after washing Always let parts dry completely in a clean, shaded area Don’t: Use bleach, alcohol, or harsh chemicals—they can damage your equipment Clean parts in a dishwasher or use hot water—high temperatures can warp components Reuse humidifier water without cleaning—this can foster bacterial growth Using CPAP Sanitizers: Yay or Nay? Sanitizers like UV or ozone cleaners can sound convenient—but tread carefully: UV Cleaners can effectively reduce bacteria, but overuse may degrade parts over time. Ozone Machines may leave residues not approved by some manufacturers. Manufacturer Advice: Most recommend manual cleaning as the safest method. Best Practice: Stick to regular manual cleaning and use sanitizers only occasionally, following approved guidelines. Benefits of Regular Cleaning and Timely Replacement Better Sleep Quality: Clean components reduce irritation and ensure airtight masks. Optimized Therapy: Unclogged parts deliver consistent, proper pressure. Equipment Longevity: Well-maintained devices last longer and save money. Health Protection: Less mold and bacteria mean fewer respiratory risks. How to Store and Maintain Accessories Store after thorough drying in a clean, cool, dust-free space Hide parts from direct sunlight and high heat—both can damage plastics Traveling? Pack parts in breathable cloth bags and only bring fully dry components Tools & Supplies from Your Medical Equipment Store Looking for high-quality parts or cleaning supplies? Check out our medical equipment store, where we stock: Genuine replacement filters, cushions, and tubing Travel-friendly cleaning kits and protective storage Desiccant packs to manage moisture during transport Keeping spare parts on hand ensures you’re always ready—and hygienic. Final Thoughts: Clean Equipment = Better Sleep & Health A simple and consistent cleaning routine, combined with timely replacement and proper storage, can elevate your CPAP experience. Visit our medical equipment store for reliable supplies and expert advice—so your sleep therapy stays hygienic, effective, and worry-free. How often should I clean my mask and hose? Daily: rinse the mask, cushion, and humidifier chamber Weekly: deep clean tubing and headgear thoroughly Is dish soap or baby shampoo okay for cleaning? Yes, as long as it’s unscented, mild, and free from conditioners—rinse thoroughly afterward. How do I tell when to replace a filter? If your disposable filter is discolored, change it monthly. Rinse and replace reusable filters every 1–3 months depending on condition. Do I need a CPAP cleaning machine? Not necessarily. Manual cleaning works well. Sanitizers can be used occasionally if approved by your CPAP provider. How should I store dry CPAP parts? Keep them in a cool, shaded place inside breathable bags to prevent dust and moisture buildup.
Read more
Reliable Medical Equipment for Every Need
Explore our wide range of durable, FDA-compliant medical equipment designed to support patient care in homes, clinics, and hospitals. Quality you can trust. Service you can count on.
Need Assistance or have questions?
Give us a call. Our trained staff are available and ready to help!